How We Clean a Kitchen Exhaust System
Every kitchen hood cleaning follows the same written procedure, whoever is on the crew that night.
- CA Lic. #922991
- Bonded & insured
- Nights & early mornings
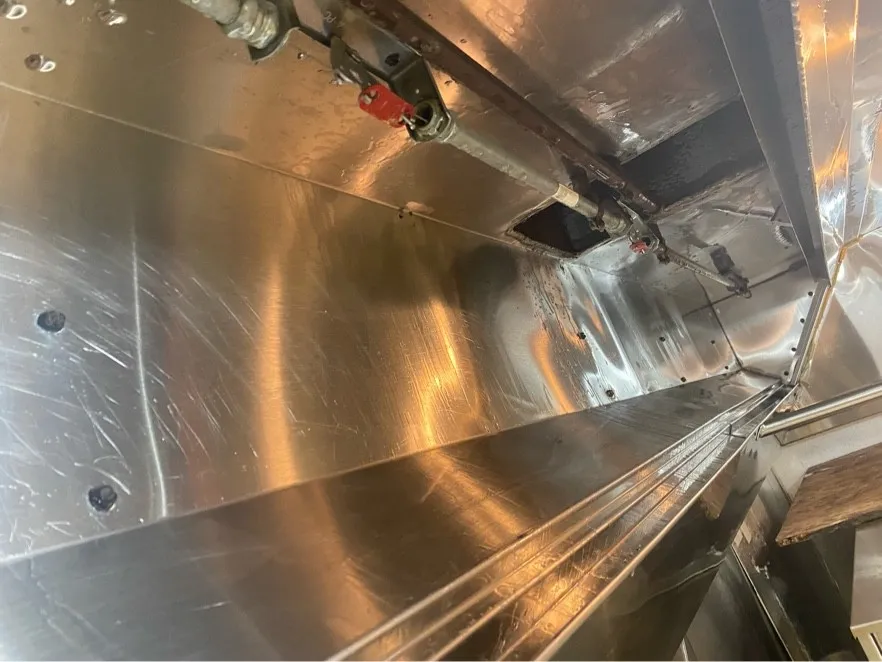
The goal is to remove grease from the whole system, from the cook line to the roof. That means the hoods, plenums, filters, ductwork and fans.
This is the procedure behind our kitchen hood cleaning service. Problems we find along the way go on your report. We replace worn belts on the spot; see exhaust fan service and inspections.
Our kitchen hood cleaning procedure, step by step
1. Check in and inspect
We check in with your manager, engineer or security to get into the building and onto the roof. Before anything is touched, we inspect and record the system:
- Fans running, fan wiring sound, fans hinged
- Hood lights working, no damaged fire-suppression parts
- Filter condition: good, broken or missing
- Grease level on the hood, duct, fan and filters: light, medium or heavy
2. Lock it down
Nobody starts washing until the crew lead confirms everything is locked down.
- Fire system alarms confirmed disconnected or on test, so the cleaning can't set them off
- Rooftop exhaust fans locked and tagged out, with a photo sent to the lead
- Caution tape around work areas and cones in traffic areas
3. Prep the kitchen and roof
Everything that isn't being cleaned is protected, and every drop of wash water has somewhere to go.
- Appliances covered with plywood and vinyl
- Gas valves closed on appliances with exposed pilot lights
- Small items moved and stored so they go back where they belong
- Vinyl drapes clamped around the hoods to contain overspray
- A vacuum pump with a screen bag and absorbent set up to collect wash water
- Berms on the roof to hold wash water, and the water meter zeroed and photographed
4. Scrape, degrease and wash
We start gentle and step up only when the grease calls for it. It's never full blast first.
- Filters pulled and presoaked
- Heavy grease scraped out of the hoods, ducts and fans by hand
- Degreaser applied, starting with the mildest product
- Fans, ductwork and hoods pressure-washed, starting at low pressure
5. Recover, clean up and restore
The kitchen goes back to the way we found it, only clean.
- Grease scum skimmed off; wash water passed through a screen bag and oil-absorbent pad
- Hood insides and outsides and back walls dried and wiped
- All visible stainless polished
- Drapes and barriers removed, everything put back and pilot lights relit
6. Check-out inspection
Before we leave, we check the work and then check out with your contact.
- Fans running, and the area around each fan free of grease
- Hood, duct and fan clean and watertight
- Kitchen floor clean and the outside rinsed
- Anything we couldn't reach written down, not hidden
7. Label and report
We photograph every area we worked, plus the water meter. Then you get your proof of cleaning:
- A dated service label on the hood showing when the next cleaning is due
- A service report with photos and our findings
- Any repairs needed, such as a missing fan hinge, a worn belt or a duct that needs an access panel
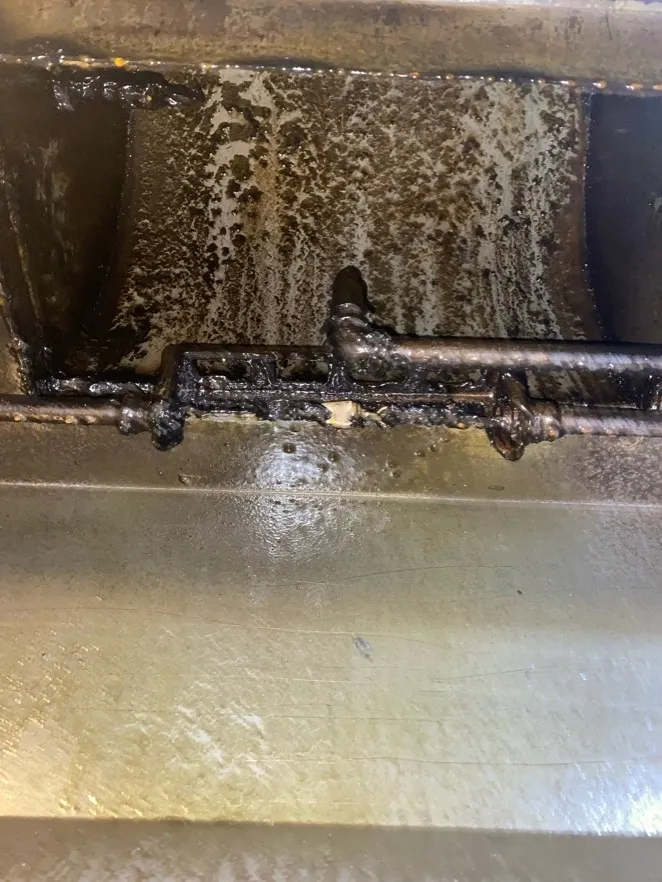
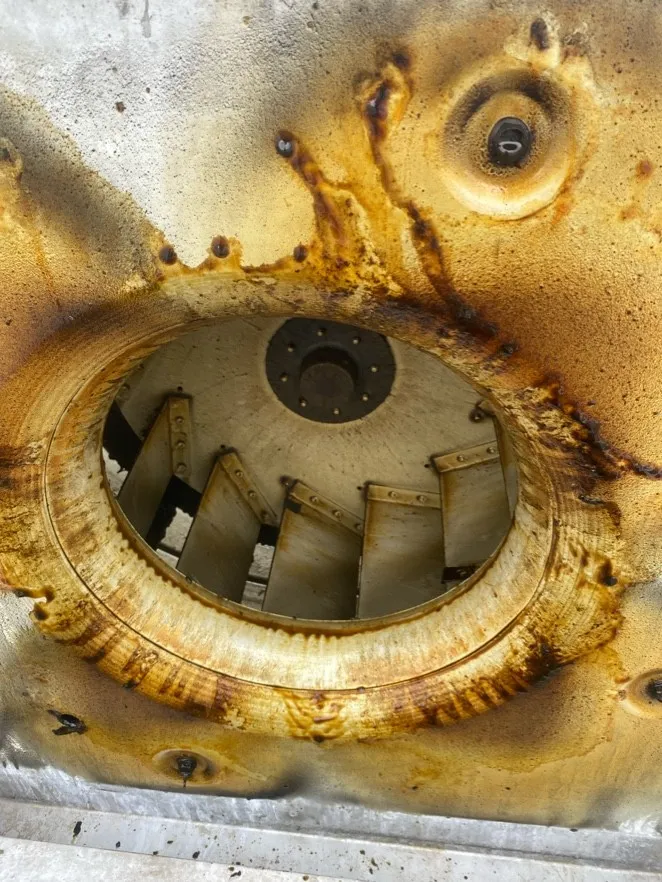
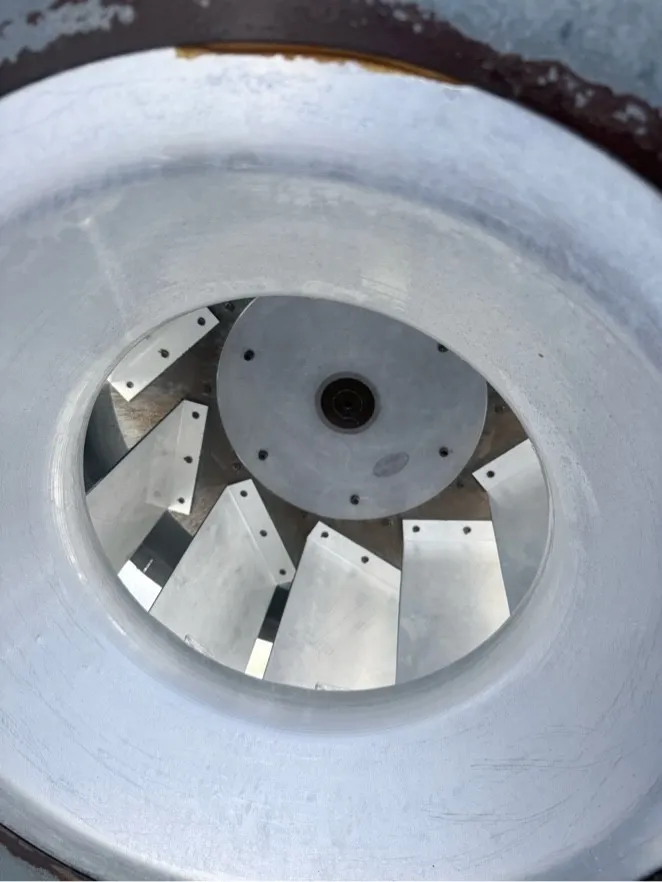
Hood cleaning before and after: grease as found, metal as left
Photos from different jobs, taken by our crews for their service reports. See more in our work.
Need something cleaned?
Hood, kitchen or pressure washing: tell us about the job and we'll give you a free quote and a schedule that fits your hours.